What the Hell is GSAP?
GSAP (GreenSock Animation Platform) is the hallmark JavaScript animation library used on many of the most beatifully animated, award-winning websites. Made by GreenSock, GSAP has an incredibly supportive community as well as a responsive dev team that regularly responds to posts on their forum (it has over 100k posts!).
Needless to say, it's a popular library and a great tool to know and have at your disposal.
Let's Build Something
Alright so let's start out with some basic HTML.
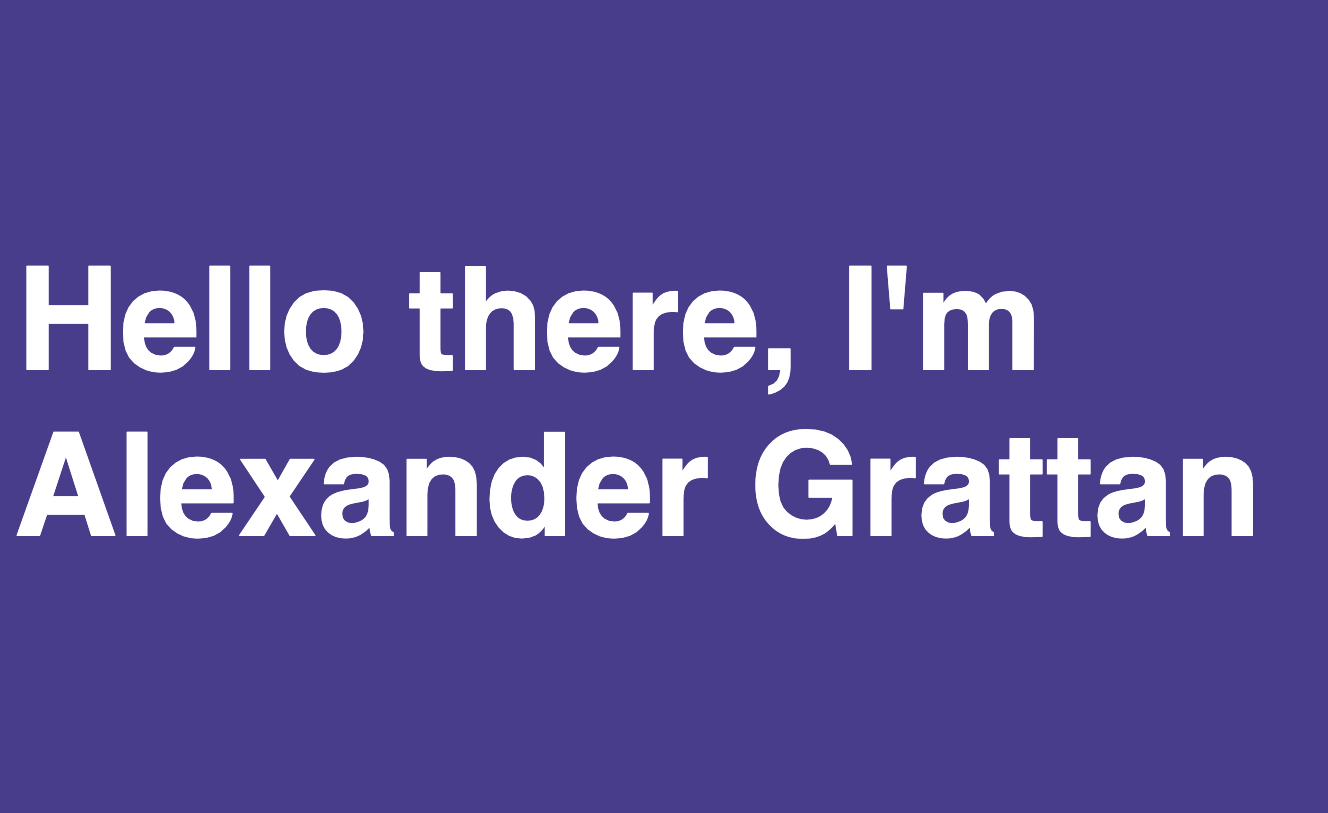
<body>
  <h1>Hello there, I'm <span id="name">Alexander Grattan</span></h1>
  <img
    id="image1"
    src="./Guy_Fieri.jpg"
    alt="Alexander Grattan standing in front of a restaurant"
  />
  <script src="https://cdnjs.cloudflare.com/ajax/libs/gsap/3.9.1/gsap.min.js"></script>
  <script src="script.js"></script>
</body>
Within our body element we have a level 1 heading. A span element wraps around the name with an associated id (this is because we will be targeting the name with JavaScript and GSAP). And then finally we have our lovely image (shhhh, this is what we will be doing cool stuff to).
Next, let's give our page some styling to spice things up.
*,
*::before,
*::after {
  /* Margins and padding are within the width of an element */
  box-sizing: border-box;
}

/* Remove default margins */
* {
  margin: 0;
}

/* Font-size is responsive but will be whatever is smallest */
h1 {
  font-size: min(8vw, 9rem);
}

/* Full size container, centering the heading */
body {
  min-height: 100vh;
  display: flex;
  flex-direction: column;
  justify-content: center;
  padding: 0 1rem;
  background-color: darkslateblue;
  color: white;
  font-family: Helvetica, sans-serif;
}

/* Don't want our name to go over two lines */
#name {
  white-space: nowrap;
}

/* Image will be half the width of the screen, absolutely positioned, and hidden...for now */
#image1 {
  width: 50%;
  position: absolute;
  top: 0;
  left: 0;
  overflow: hidden;
  pointer-events: none;
  visibility: hidden;
}
And here's what that looks like:
Nothing too crazy, after all this isn't a tutorial on CSS and styling.
Alright, let's get into the special stuff, the special sauce to make this simple page have some magic to it.
What we'll be making is a hover effect where the image appears whenever the name is hovered over. This can be done in CSS, HOWEVER, what we also want to do is have the image follow the cursosr as well.
Let's write this out.
// 1. Grab our elements
const titleName = document.querySelector("#name");
const image = document.querySelector("#image1");

// 2. Create function that attaches our image to the position of our mouse
function moveImage(e) {
  let xpos = e.clientX;
  let ypos = e.clientY;

  // Use gsap and its timeline to control animation of image positioning
  const tl = gsap.timeline();
  tl.to(image, {
    x: xpos,
    y: ypos,
  });
}

// 3. Attach event listener to name whenever the mouse moves over it
titleName.addEventListener("mousemove", moveImage);
Our image follows the cursor whenever we hover over the name BUT it seems to be super far down and to the right 🤔.
Well in the same way to position an absolute element with a -50% css transform, we have to do same thing via JavaScript. GSAP has a pretty nifty way of transforming elements on their initial load with the set() method.
const titleName = document.querySelector("#name");
const image = document.querySelector("#image1");

// Setting the image negative percentages up and to the left
// This is so that our image is actually under our cursor
gsap.set(image, { xPercent: -50, yPercent: -50 });

// Rest of current code...
Cool so now our image is actually at our cursor whenever we hover over our name. What we need to do now is hide our image on initial load, we only want it to appear whenever the name is hovered over.
const titleName = document.querySelector("#name");
const image = document.querySelector("#image1");

gsap.set(image, { xPercent: -50, yPercent: -50 });

function moveImage(e) {
  let xpos = e.clientX;
  let ypos = e.clientY;

  const tl = gsap.timeline();
  tl.to(image, {
    x: xpos,
    y: ypos,
  });
}

/*
  New imageHover function
  Show image if name starts to be hovered over
  Hide image if name is not being hovered over
*/
function imageHover(e) {
  if (e.type === "mouseenter") {
    const t1 = gsap.timeline();

    t1.to(image, {
      duration: 0.5,
      // autoAlpha switches both the opacity + the visibility of an element
      autoAlpha: 1,
    });
  } else if (e.type === "mouseleave") {
    const tl = gsap.timeline();

    tl.to(image, {
      duration: 0.5,
      autoAlpha: 0,
    });
  }
}

titleName.addEventListener("mousemove", moveImage);
// Add new function to both the mouseenter and mouseleave event
titleName.addEventListener("mouseenter", imageHover);
titleName.addEventListener("mouseleave", imageHover);
And we got it! Give yourself a round of applause!
Here's the final code: https://codesandbox.io/s/starter-gsap-csc-tutorial-finished-y9d8o
You just created your first animation with GSAP. There is a whole world of cool creations people have made with this library. I suggest taking a look at some of these resources here if you're interested in learning more:
- GreenSock Learning YouTube Channel (https://www.youtube.com/user/GreenSockLearning)
- GreenSock on CodePen (https://codepen.io/GreenSock)
- Page Transitions! (https://youtu.be/aMucZErEdZg)